Gallery

Friday, February 15, 2013

From the Forge

A native stubborn streak, a perennial lack of funds and an insatiable appetite for tools has led me to the craft of blacksmithing.  I'm certainly a novice at this but my skills and understanding are growing.  I've just finished a batch of knives made with O-1 tool steel, a high carbon alloy that is particularly good for edge tools.  
Shaping red hot metal at the forge and anvil is addictive.  It's a task that seems embedded in human consciousness, like a character trait handed down in DNA.  I felt that way about working in clay for the first time too, like I'd done it before and was remembering how.  However, the skill and knowledge to properly heat treat steel is not so easily come by.  Metallurgy is a fascinating field, and the molecular changes in steel at different temperatures becomes the critical variable in producing a blade that can hold an edge yet be resilient enough for hard use. 
 

 Here is a picture of the knives in their sheaths. I'm particularly drawn to Scandinavian knife models, like the Swedish sloyd or Finnish puukko knives.  Many of those are made with laminated steel, a hard sliver of tool steel forms the edge and is forge welded to a softer spine and tang.  This composite offers good edge retention of the tool steel with the shock absorption of the milder metal.  My knives are made with a similar idea, differential heat treating, where the knife is forged of one alloy, but the edge is treated to retain hardness and the spine is tempered to be softer. 
 
The smallest of these is a neck knife.  It is a partial tang blade with a pear handle.  The sheath is made with six rare earth magnets that retain the blade while hung around the neck.  This sheath can also be worn as a conventional belt knife.
 
This is a partial tang knife with a copper ferrule and a bubinga handle.
 
Lastly, a full tang knife with a bronze bolster and tang nut.  The handle is osage orange.  Thanks for your interest.


Tuesday, February 5, 2013

Rhonda's Rocker

Vintage furniture repairs offer a chance to examine joinery and building techniques up close and personal.  If a piece of furniture was originally well made, and survived hard use, chances are that the Owner has developed a real affinity for the piece and is heart broken when its accumulated issues render it unusable.  Rhonda's rocking chair was such an item.  We worked together at an Architecture firm and I had noticed the broken rocker while at a social gathering at her house.  Later, after I had left the firm and started the lunacy of career redirection, Rhonda encouraged my madness by allowing me to repair her chair.


I got it to my shop and looked it over.  It had been painted at some point in it's life.  Traces of light green paint remained in crevices.  Heavy stain and varnish had been added after the paint removal.  The binder cane weaving on the backrest was in good condition, but the seat was long gone.  Tenons on several of the stretchers had pulled out their mortises, and I found this condition on one of the curved rockers as well.
 
The main problem was a broken arm where the grain ran diagonally creating a weak spot at the tenon in the back post.  At this point I was not entirely sure what species of wood the chair was made from so I removed the broken arm and planed away the finish so I could see the wood grain.  The wood was light colored and extremely dense with a tight grain and some open pores.  I suspected hickory, and then confirmed it by comparison with some that I had in my wood stash.  Hickory is a fine chair making wood, strong and resilient, but matching the new light colored wood with the multi-layered patina of the finish was going to be a challenge.


Using the old arm as a guide, I made a new arm for the chair, taking care to keep the grain straight for the tenon into the back post.   The front post fits into a round mortise drilled into the new arm and is braced with a metal bracket.  I matched the stain and instead of wiping it off, allowed it to dry in a couple of heavy coats.  That was followed by varnish.

I then examined my options for fixing the loose stretcher tenons.  Someone had tried to repair some of these by driving nails through the front and rear posts into the tenons.  After removing all of the nails and dry fitting them back into their respective mortises I could tell that the fit was not tight enough for a good fix, no matter how much glue was applied.  Using an old trick that I read about somewhere, I used plane shavings from the construction of the hickory arm soaked in glue and wrapped around the tenons to increase their size. After glue up and clamping the chair structure was sound. 

Rhonda and I traded a few emails about the seat.  After some discussion we settled on a new woven shaker tape seat.  This is a 5/8" cotton tape woven with an internal cushion. 

 
The finished chair, hopefully with some life left in it.  Thanks for your interest.


Sunday, February 3, 2013

Post and Rung Chairs Part 2

Post and Rung, or "ladderback" chairs are a familiar form, bringing to mind the elegant minimalism of the Shakers or seating at a rustic farmhouse table.  The history of post and rung chair making extends back to at least the 17th century in European examples, and the technology was brought to the New World, where it was widely used for home built seating because of it's simplicity and the longevity of it's joinery under heavy use.  This type of seating was particularly widespread in the  Appalachian and Ozark Mountain regions of the United States where English, Scotch and Irish immigrants settled.  In a previous blog post, Post and Rung Chairs Part 1, there are photographs of some examples from my own family which have endured long past their original owners.  Commercial examples of these chairs have largely ignored the principles that can contribute to an heirloom quality piece of furniture.  Most modern industrial furniture production relies on screws, braces and dowel joints in their fabrication and totally ignore wood grain direction.  I have long been fascinated with the longevity of these chairs. What follows are examples of my work in researching and fabricating post and rung chairs.


True post and rung technology makes the most of the natural properties of wood and starts with green wood which is split along the grain and shaped with these fibers aligned for maximum strength.  Care is taken to align the annual rings of the elements so that wood movement occurs as it did when the tree was a living thing.  Most of the round mortise and tenon joints overlap.  Additionally, differential moisture content of "bone dry" tenons inserted into ambient moisture mortises equalize and swell creating a locking joint.  All my chairs to date have been made of locally harvested white oak assembled with hide glue.


Everything from corn shucks, manilla rope, shaker tape, rawhide or hickory bast has been used to weave seats into ladder back chairs.  I've been using industrial hemp twine, typically used in upholstery to tie springs into place.  It's a strong natural fiber that develops a velvety texture over time.  


Many older chairs are not at all comfortable and seem purpose built to effect an upright posture.  Some elements of my chairs are steam bent to follow the curvature of the human form.
 
 
I am of course, still learning but the resulting chairs are light and resilient.  Thanks for your interest.


Hearth Bench

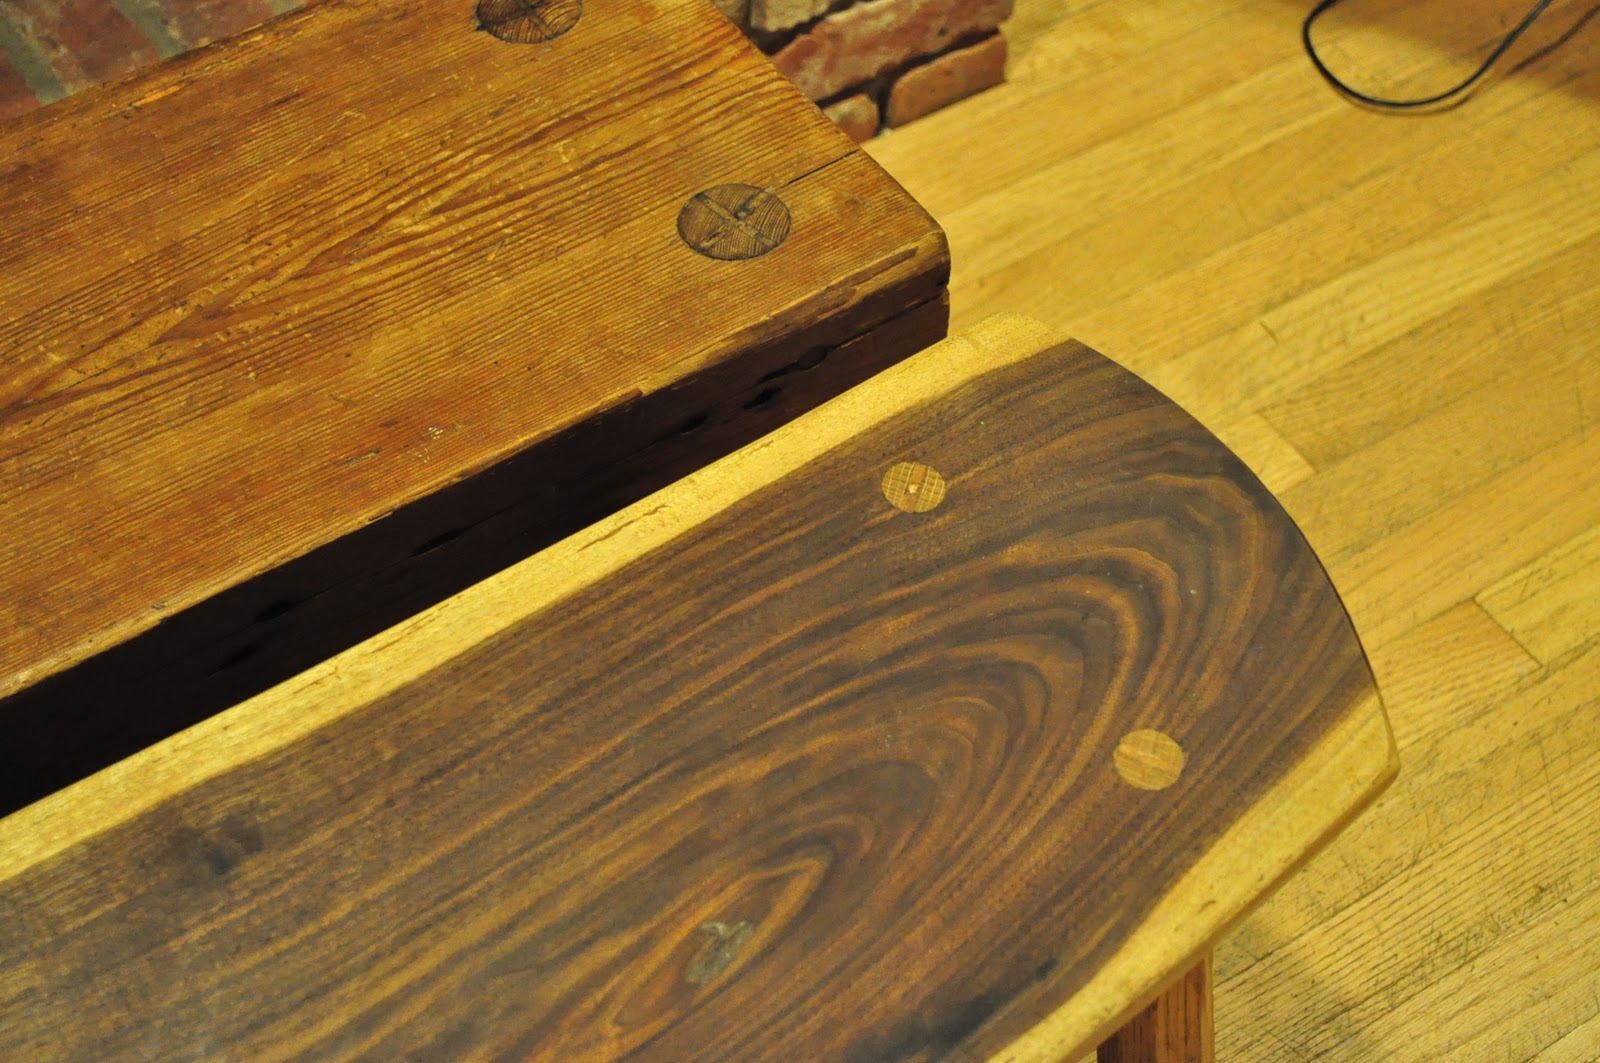
We have a rustic pine bench that sits in front of our hearth. It's a cherished object that provides a perch to roast marshmallows over glowing embers, or just a handy spot to sit and lace up your boots. The bench is heavily constructed of southern yellow pine and the top is a full three inches thick. It was made by my wife's grandfather who as a South Carolina contractor worked on many civic and municiple buildings. The bench top is made from a beam pulled from a building that was demolished. Blackened nail holes are still visible from the floor boards that spanned across it in a first life as a structural building element. This simple bench is valued not only because it was made by a family member and passed down as an heirloom, but also for its rugged construction, enduring the long years without failure and aquiring an amber patina along the way. I also love the aspects of the bench that give clues about its former lives, first as a living tree and then as a building beam. I can count eighty four tightly spaced growth rings in the bench top that was surely cut from a much larger log. We have some idea of its age as a bench, but who knows how long it served as a beam or who may have walked over its span. Who knows if it was harvested from a cultivated hedgerow or felled in a primeval wilderness and floated downriver to a sawmill. I like to think about these things and I've used the old bench as an inspiration for my own hearth benches.


  I've chosen to use walnut for the bench top, allowing the shape of the tree to remain, with lighter sap wood contrasting with the heartwood. The legs are white oak, split with a froe so the wood fibers remain aligned and joined to the top with a tapered tenon and wedge.Thanks for your interest.
Post and Rung Chairs Part 1

My maternal grandparents lived in a house built of hand hewn timbers that rested on fieldstone foundations.  In its earliest incarnation, the house had only two rooms seperated by a "dogtrot" and chimney flues bookended the gables.  In the early 1980's my grandparents closed in the dogtrot, added new rooms on the rear and fitted the house with wiring and modern plumbing.  They were the third generation to occupy the house and property that we called "The Old Place". 


For me as a child, all of the objects in and around the Old Place were endless sources of fascination. The house and property contained many artifacts; wagon wheels, butter churns, a surveyor's transit, pocket watches, double barrel shotguns, blacksmith tongs, quilts, and furniture were accumulated from the lives of multiple generations.  Most of it, including the house was made by hand by my ancestors.

I took away from my childhood the idea that whatever was needed could be made.

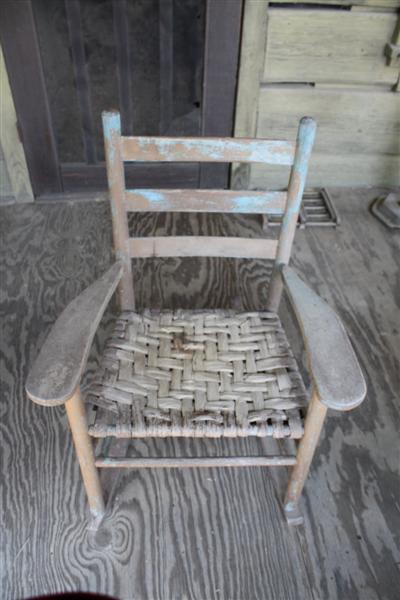
There were chairs at the Old Place that were clearly hand made, rough hewn and basic. They weren't always comfortable and seemed made for small people, but they endured, outlasting those who made them. 


Many years later, as my life focus came back around to making things instead of making instructions for other people to make things, I started thinking about those chairs, and the factors that contributed to their longevity.

Thanks to my Aunt Pam for the images of the Old Place and old chairs.
   

Wednesday, August 22, 2012

Turning Saw


The turning saw is the progenitor of the bandsaw, used to cut curves before the advent of machinery.  I've also heard them referred to as bow saws. Very thin blade material can be used because tension is provided by the wooden frame and a "Spanish windlass".  The handles and blade rotate to allow for cutting stock deeper than the frame, hence the name turning saw .  In addition to cutting curves, they are quite good for cutting dovetails or other joints where a narrow kerf is required.  They can be pushed or pulled for cutting depending on your preference.  I'm making this one with London Pattern handles featured in my previous post.


I have made bowsaws in the past with metal pins inserted into the handle and a slot to hold the blade.  This was unsatisfactory because the pin was epoxied into the handle and eventually worked loose.  I've seen examples of older saws that have wooden pins, but that too seems a weak link for a joint in tension.  A joint that I've seen on European saws is a metal pin with a flat end that keeps the blade with a bolt and wingnut.  I used a hybrid approach, turning the handle and pin as one piece and attaching a flat metal keeper to the wooden pin with brass rivets.  The saw blade is attached with a small stainless steel bolt and a wingnut.

The frame is made from cherry, and the cross member tenon has curved shoulders that correspond to the mortise in the sides. This allows these members to rotate slightly in response to tension or wear.  Chop the mortises and cut the tenons while the members are still squared up. 


Shape the frame elements with a spokeshave, rasp and finish up with sandpaper. Leave the frame full at the handles and joints, but the rest of the frame can be sculpted into graceful slender elements.  The Spanish windlass toggle is also a turned element.  A deep cove accepts the string and once tightened by rotation, the end is inserted into a small round mortise on the top of the cross member to keep it in place. 


The blade is cut to length from a band saw blade.  Several different blades can be made up for this saw depending on the intended operation.  Band saw blades are easily cut with a cold chisel, just remember to use eye protection and leather gloves.  I intend to use this one for dovetails and occasional curve cutting which are mostly rip cuts, so I used a general purpose, 15 tpi bandsaw blade and reduced the set of the teeth by running a sharpening stone down both sides.  If desired, the teeth can be reshaped with saw files and a vise; more on that later.  I use hemp twine for the windlass.  This can usually be found in upholstery supply shops, used to tie springs in furniture.  This is a great weekend project with a result you can use for a lifetime. 


Monday, August 20, 2012

London Pattern Handles

There is something really nice about London pattern handles.  The distinctive turned handles with octagonal "flats" are seen on period hand tools from the golden age of hand tools in pre-industrial England.  The sculptural shape is more than embellishment and I suspect that the evolution of this form had a long period of development in European workshops.  Most London pattern handles are seen on chisels and gouges. I've been making a turning saw with LPH's for precisely the same reason that they work so well for edge tools.


When used for chisels or gouges, the octagonal "flats" prevent the tool from rolling off the benchtop, but the other great thing about this handle is the ability to roll the tool between thumb and forefinger for precise control, while locking the "flats" in the palm of your hand.


These are not hard to make and it's a great way to use up small wood scraps and cutoffs. What's shown here is for the turning saw, but the idea is easily adapted for edge tools with the addition of a ferrule. I've started with well seasoned pear wood, one of my favorites, especially for turning. The blank is squared with a jack plane and the flats laid out with a marking gauge.


A sharp low angle block plane is used to cut the "flats". Measure to make sure that the flat truncation equals the remaining portion of the squared blank.  It's ready to go to the lathe when all four truncations have been made.


The lathe work is fairly straight forward, and can be varied to a particular hand size or ferrule for chisels or gouges. Tung oil is a great finish for pear.  It can be applied when the stock is still on the lathe using the heat build up from friction to increase absorption and cure the drying oil.  My next post will show the construction of the turning saw.  Thanks for your interest.